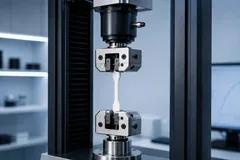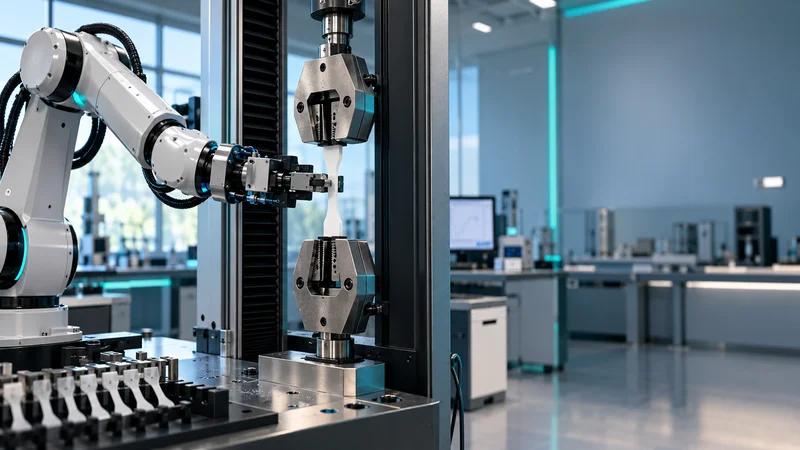
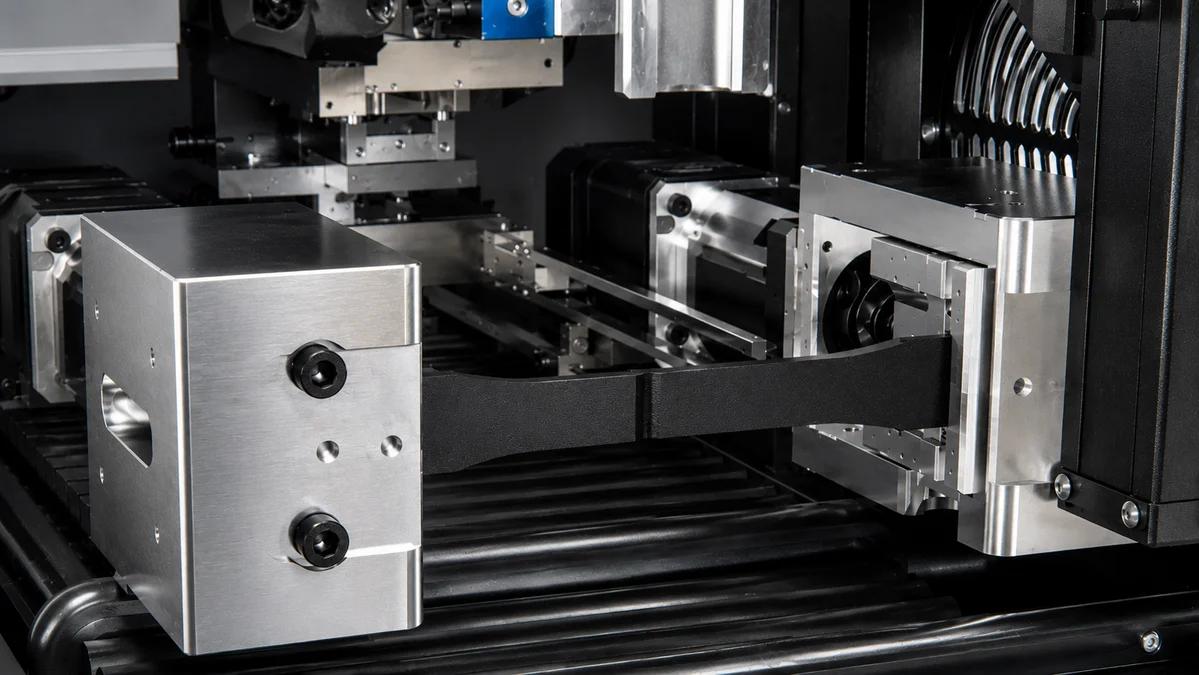
A polymer tensile test pulls a standardized dog-bone specimen until it breaks, measuring how a plastic, rubber, or composite responds to stress and strain. It is the workhorse mechanical test for polymers, governed mainly by ASTM D638 and ISO 527. At LabsCubed, CubeOne and CubeTen automate the procedure end-to-end so labs can run more tests with less operator-to-operator variability.
What is a polymer tensile test?
A polymer tensile test is a mechanical test that stretches a dog-bone-shaped plastic, rubber, or composite specimen at a controlled speed until it yields or breaks. The test reports tensile strength, elongation at break, and modulus of elasticity. It is the most common procedure for qualifying polymer grades, validating injection-molded parts, and meeting customer specifications.
Polymer tensile testing differs from metals testing in three ways: specimens are typically dog-bone (not round), strain rates are slower (often 5–50 mm/min), and temperature plus humidity matter more because polymers are viscoelastic. Most QA labs run the test daily on incoming resin lots, regrind batches, and outgoing parts. For background on what tensile testing actually measures, see our overview on why tensile testing matters.
Which standards govern polymer tensile testing?
Two standards dominate: ASTM D638 (used primarily in North America) and ISO 527 (used in Europe, Asia, and most multinational supply chains). Both define specimen geometry, conditioning, test speed, and how to calculate tensile strength, yield, and modulus. Customer specifications usually dictate which one applies.
ASTM D638 specifies five rigid-plastic specimen types (Types I through V) at different scales, with Type I being the default for materials thicker than 7 mm. ISO 527-2 uses Type 1A (injection-molded) and Type 1B (machined) specimens. The gauge lengths and overall dimensions are similar but not interchangeable, and switching between standards without re-validating the data set is a frequent source of inter-lab disagreement. LabsCubed's ASTM D638 / ISO 527 automated tensile testing setup supports both standards in the same workflow.
How is a polymer tensile test performed?
A polymer tensile test follows five steps: specimen preparation, conditioning, alignment in the grips, controlled-rate pulling, and data capture. The specimen is mounted between two grips, an extensometer (or video extensometer) tracks strain in the gauge section, and the load cell records force. The machine then pulls at a constant crosshead rate until break.
Specimen preparation
Specimens are either injection-molded directly to ASTM D638 Type I geometry or machined from a plaque or finished part. Edges must be free of nicks, burrs, and tool marks because every flaw is a stress concentrator that drops the apparent tensile strength. After cutting, specimens are conditioned at 23 °C and 50% relative humidity for at least 40 hours, per the standard.
Specimen alignment
Misalignment is the single largest source of operator-to-operator variability in polymer tensile testing. If the specimen sits crooked in the grips, bending stresses are added to the tensile load, the data drifts low, and you get inter-operator differences that look like material problems. Manual labs typically resolve this with alignment jigs and operator training; automated systems remove it entirely.
Test setup and data capture
Crosshead speed is set per the standard — typically 5 mm/min for modulus and 50 mm/min for strength on rigid plastics. The extensometer measures strain across the gauge length, the load cell records force, and the software calculates tensile stress (load ÷ cross-sectional area) and tensile strain (extension ÷ gauge length). Modulus comes from the slope of the initial linear region.
What does a polymer tensile test measure?
A polymer tensile test produces three primary outputs: tensile strength at yield or break (MPa), elongation at break (%), and Young's modulus (MPa or GPa). For ductile materials such as polypropylene, the curve shows a clear yield point, a plateau, and a break. For brittle materials such as polystyrene or many filled composites, the curve climbs and breaks with little plastic deformation.
Secondary outputs include offset yield strength (for materials without a defined yield), strain at yield, and the stress-strain area used to estimate toughness. Result variation is real and material-driven: even an in-spec polypropylene grade can show 5–10% variability between specimens, which is why ASTM D638 requires reporting the mean and standard deviation of at least five specimens per sample.
Manual vs. automated polymer tensile testing
The biggest gap in published polymer tensile testing content is the workflow comparison. Manual testing is well-documented; what changes when the entire procedure — load, align, pull, eject, log — is automated is rarely covered. This table shows the practical differences a QA manager sees on the lab floor.
| Manual testing | Recommended CubeOne / CubeTen | |
|---|---|---|
| Specimen loading | Operator picks each dog-bone, aligns it by eye or jig, tightens grips | Robot picks from a tray, aligns to a mechanical reference, closes pneumatic grips at a set torque |
| Alignment variability | Typically 1–3% strength variation between operators | Reduced to specimen-driven variation only |
| Throughput per shift | 40–80 specimens, depending on operator and resin | Up to 240 specimens per shift, depending on workflow |
| Data logging | Manual entry or per-test CSV export, often re-keyed into LIMS | Streamed into LIMS with specimen ID, lot, and audit trail per pull |
| Audit trail | Notebook entries, paper logs, occasional gaps | Per-specimen metadata, timestamps, machine state — complete |
For the full cost and ROI logic behind these numbers, see the LabsCubed automation vs. manual testing white paper.
What are the most common mistakes in polymer tensile testing?
Even well-trained labs lose data to a small number of repeatable errors. The most damaging ones come from specimen handling and alignment rather than the test itself.
- Skipping conditioning — running specimens straight off the molding press, before the 40-hour conditioning at 23 °C / 50% RH, gives results that drift over the next two days. For more, see how temperature and humidity affect tensile strength.
- Misaligned specimens — a specimen rotated even 2–3 degrees in the grips adds a bending component and biases the strength low. This is the single largest contributor to operator-to-operator variability.
- Wrong crosshead speed — modulus is rate-dependent for polymers; running at 50 mm/min when the standard calls for 5 mm/min produces an inflated modulus that fails customer correlation later.
- Mixing standards — reporting an ASTM D638 strength against an ISO 527 customer spec without explicit conversion is a common audit finding in multinational supply chains.
- Untracked re-tests — discarding a specimen as “bad grip” without logging it breaks traceability. Automated systems log every attempt by default.
How does automation reduce variability in polymer tensile tests?
Automation reduces variability by removing the human steps that introduce it. A robotic system loads each specimen against the same mechanical reference, closes the grips at the same torque, runs the same test profile, and logs every result with a specimen ID. The remaining variation is material variation — the part you actually want to measure.
In a typical LabsCubed deployment, a CubeOne system handles ASTM D638 Type I specimens in a single tray, while CubeTen runs ten trays unattended for overnight throughput. The output is a per-specimen record with stress-strain curve, calculated properties, and full audit metadata streamed into the customer's LIMS. For a deeper look at the data side, see our note on tensile data collection with automation.
Automation does not replace materials judgment. A QA engineer still defines the test plan, reviews flagged results, and signs off on lot dispositions. What it removes is the manual repetition that produces the operator-to-operator drift labs typically blame on the material.
Frequently asked questions
What is ASTM D638 for polymer tensile testing?
ASTM D638 is the standard test method for the tensile properties of rigid and semi-rigid plastics. It defines five dog-bone specimen geometries, conditioning at 23 °C / 50% RH, crosshead speeds typically between 5 and 50 mm/min, and how to calculate tensile strength, elongation, and modulus. It is the default polymer tensile test in North America and the closest ASTM analog to ISO 527.
What specimen dimensions are used for a polymer tensile test?
ASTM D638 Type I specimens are the most common choice: 165 mm overall length, 13 mm wide at the gauge section, 19 mm wide at the grip ends, and a nominal 3.2 mm thickness. ISO 527-2 Type 1A specimens are similar but use a 150 mm overall length and 10 mm gauge width. Customer specs usually call out the exact type to use.
Why is a dog-bone specimen used for polymer tensile testing?
The dog-bone shape forces the specimen to break in the narrow gauge section rather than at the grips. The wider grip ends spread the clamping load over more area, which keeps grip stress below the material strength. This means the recorded failure reflects the bulk material, not a grip-induced flaw. Round and rectangular specimens cause grip-region breaks that invalidate the test.
How is a polymer tensile test procedure performed?
The procedure is: cut or mold a dog-bone specimen to the standard, condition it for 40 hours, measure cross-section, mount in the grips with the gauge centered, attach an extensometer, pull at the specified crosshead rate, and record load versus extension until break. The software calculates stress and strain, and the lab reports the mean and standard deviation across at least five replicate specimens.
What is the difference between ASTM D638 and ISO 527?
Both measure polymer tensile properties but differ in specimen geometry, default speeds, and reporting. ASTM D638 Type I has a 50 mm gauge length and is widely used in the US; ISO 527-2 Type 1A has a 75 mm reference length and is the European default. Results are similar but not interchangeable, and most multinational labs run both rather than convert between them.
Where to go next
If you are scoping a polymer tensile testing workflow — whether to upgrade manual benchwork or build an automated cell from scratch — the first question is throughput: how many specimens per shift, on how many resin grades, with what audit requirements. From there the specifics fall out: standard, specimen type, grip selection, data path, and whether a CubeOne or CubeTen footprint fits the lab. For the related flexural method, see our ASTM D790 flexural testing guide. For a surface-property complement to tensile data, see our guide to the hardness of polypropylene.
Scope your polymer tensile workflow
Book a 20-minute walkthrough of CubeOne and CubeTen. Bring your standards, your materials, and your throughput numbers, and we'll map the automated cell that fits.