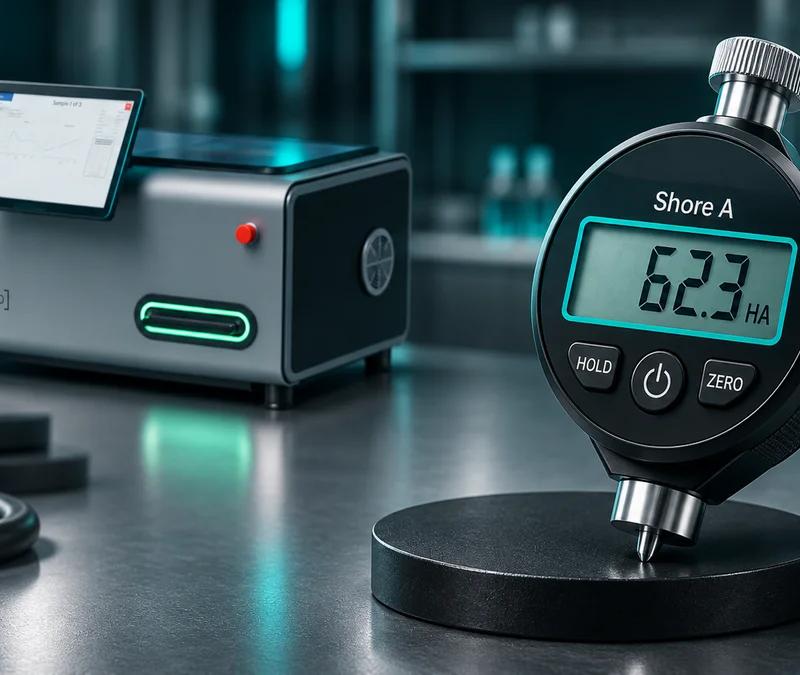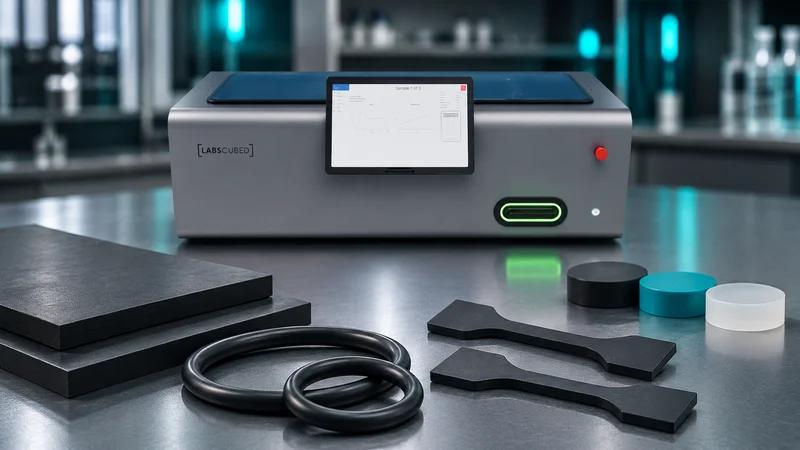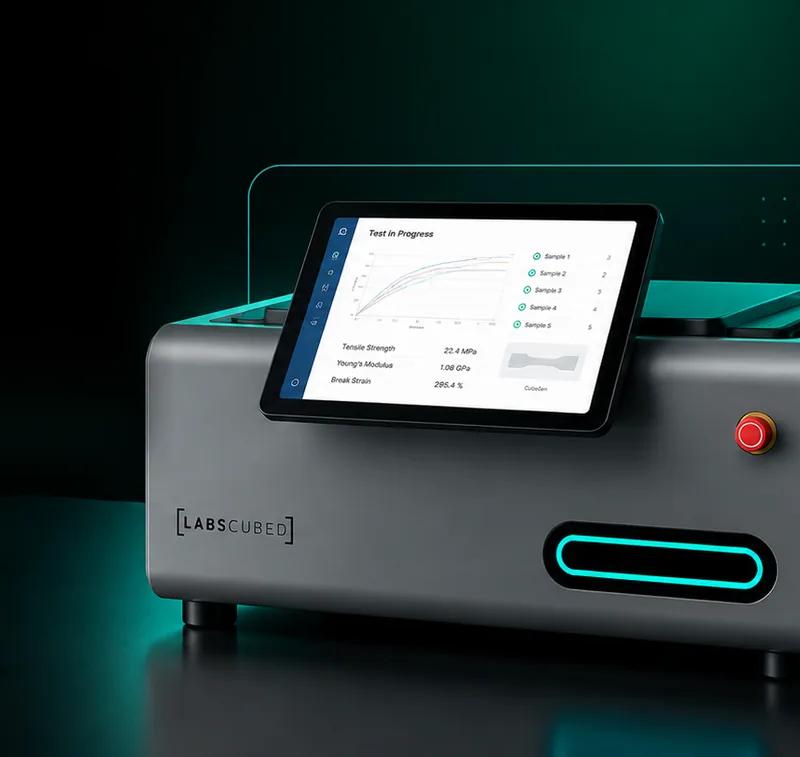
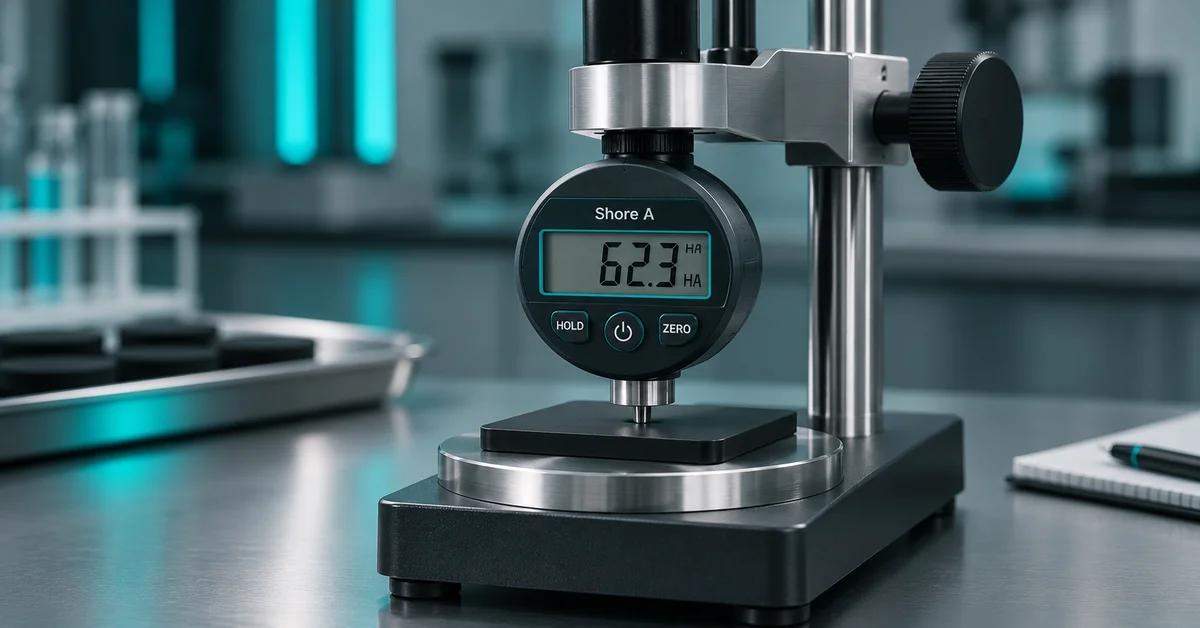
A Shore hardness tester for rubber is a durometer: a gauge that presses a standard indenter into an elastomer under a fixed spring force and reports the resistance on a 0–100 scale, per ASTM D2240. Choosing one is really a decision about how much operator variability you can tolerate — the same problem LabsCubed tackles with CubeOne and CubeTen.
Key takeaways
- Shore A covers most rubber; Shore 00 handles foams and gels, Shore D handles hard rubber.
- ASTM D2240 governs indenter geometry, spring force, dwell time, and specimen thickness — the instrument alone does not make a reading compliant.
- The single biggest source of error is the operator, not the durometer: hand force, squareness, and dwell time each move the result by several points.
- Spec the test stand and data path before you argue about analog versus digital — that is where repeatability and traceability actually come from.
What is a Shore hardness tester for rubber?
A Shore hardness tester for rubber is a durometer: a spring-loaded instrument that presses a standardised indenter into the surface of an elastomer and converts the depth of penetration into a number from 0 to 100. A higher number means the material resisted the indenter more. ASTM D2240 defines the indenter shape, spring force, and timing for each Shore type.
What the number describes is narrow, and that matters when you are buying. Shore hardness is a surface indentation measurement taken over a couple of seconds. It says nothing directly about tensile strength, elongation, tear resistance, or long-term service behaviour. It is popular because it is fast, cheap, and non-destructive — a batch-to-batch consistency check rather than a design property.
Instruments come in three broad configurations. A handheld analog durometer has a dial and no data output. A handheld digital durometer adds a display, hold function, and often a serial or USB output. A durometer mounted on a calibrated operating stand adds a controlled approach rate and a fixed applied mass — the configuration ASTM D2240 favours when readings must be defensible. IRHD testing per ASTM D1415 is a separate method, preferred for small parts such as O-rings.
Which Shore scale does your rubber need — A, D, or 00?
Most rubber is tested on the Shore A scale, which spans soft flexible compounds through to near-rigid ones. Sponge rubber, foams, and gels fall below the useful bottom of Shore A and need Shore 00. Hard rubber, ebonite, and rigid thermoplastics push past the top of Shore A and need Shore D. The scales are not interchangeable or convertible.
| Durometer type | Indenter | Typical rubber it suits | Example parts |
|---|---|---|---|
| Shore 00 | Large spherical | Sponge, foam, gels | Cushioning pads, foam seals |
| Shore A | Truncated cone | Most vulcanised rubber and TPE | O-rings, gaskets, hose, bushings |
| Shore D | Sharp 30° cone | Hard rubber and rigid plastics | Ebonite, wear pads, hard rollers |
| IRHD (ASTM D1415) | Small ball, micro option | Thin or small rubber parts | O-rings, thin seals, finished goods |
Two practical rules follow. First, always record the scale with the number: “60” is meaningless, “60 Shore A” is a specification. Second, readings below about 20 or above about 90 on any scale sit in the non-linear ends of the range and are less reliable, so if your compound consistently lands there, you are on the wrong durometer type — budget for a second instrument rather than stretching one.
How do you test Shore hardness of rubber?
Condition the specimen, place it on a hard flat surface, press the durometer foot flat against it until fully seated, and read the value at the dwell time your standard specifies — typically one second for most rubber, or three seconds where the specification calls for it. Take five readings at least 6 mm apart and report the median.
The specimen requirements do most of the work. ASTM D2240 calls for a minimum thickness of 6 mm; thinner material lets the indenter feel the anvil underneath and reads artificially hard. Where a part is too thin, plies may be stacked to reach thickness, but only if the surfaces are flat and in full contact, and the stacking must be noted with the result. Readings must sit at least 12 mm from any edge, and the surface must be flat, clean, and free of mould flash or texture.
Temperature is the requirement most often skipped. Elastomer stiffness is temperature dependent, so a specimen taken straight off a press or in from a cold loading dock will not read the same as one conditioned to standard laboratory conditions. For contested results, conditioning is the cheapest thing to check first.
Why do durometer readings vary between operators?
Because in a handheld test, almost every controlled variable is controlled by a human hand. How hard the operator presses, how square the foot sits against the surface, how fast the indenter is brought into contact, and exactly when the value is read all shift the result. The spread between two trained technicians on the same part is typically several Shore points.
This is the part most buyer guides skip, and it is the part that actually determines whether your data is usable. Consider what a 5-point operator spread does to a specification band of 60 ± 5 Shore A: the measurement noise consumes the entire tolerance. Batches get rejected that were fine, and batches pass that were drifting. The instrument was accurate; the method was not repeatable.
It compounds across a lab. If day shift reads consistently two points softer than night shift, a slow drift in a compound can hide inside that difference for weeks, and when a complaint finally arrives the hardness log cannot tell you whether the material changed or the measurement did. That is a workflow problem, not an instrument problem — the same pattern behind LabsCubed's manual versus automated testing comparison.
The fixes are ranked. A calibrated operating stand removes hand force and approach rate, which are the two largest contributors. An automatic timer removes dwell-time drift. Digital capture removes transcription error. Only after those three is it worth debating brands.
Manual vs. automated rubber hardness testing
Once you separate the instrument from the method, the comparison becomes clear. The table below is the practical difference a QA lab feels, not a feature list.
| Factor | Handheld manual durometer | Stand-mounted / automated durometry |
|---|---|---|
| Applied force | Varies with hand pressure | Fixed by a calibrated mass |
| Approach rate | Uncontrolled; varies per press | Controlled and repeatable |
| Dwell time | Judged by eye; drifts | Timed automatically to the standard |
| Operator-to-operator spread | Typically several Shore points | Largely removed |
| Data capture | Hand-written; transcription errors | Logged digitally at the point of test |
| Traceability / audit trail | Manual, hard to reconstruct | Time-stamped and audit-ready |
| Best suited to | Spot checks, shop-floor triage | Release testing, specifications, disputes |
This is where LabsCubed fits into the picture. Rather than treating hardness as an isolated bench check, LabsCubed automates the surrounding materials-testing workflow — specimen handling, test execution, and data logging — so results are repeatable and traceable by default. CubeOne and CubeTen apply that approach to automated rubber tensile testing, where the same operator-variability problem shows up with higher stakes. The goal is not only throughput; it is that a 60 Shore A result means the same thing on Monday morning as it does on Friday afternoon.
How do you choose a Shore hardness tester for rubber?
Work in this order: confirm the scale your compounds need, decide whether readings must be defensible or merely indicative, then choose the data path. Analog versus digital is the last decision, not the first — it changes the price far more than it changes the number.
1. Match the scale to your material range
List your hardest and softest compounds. If everything sits between roughly 20 and 90 Shore A, one Shore A instrument covers you. If you also run foam or ebonite, plan for a second durometer rather than accepting unreliable readings at the ends of the scale.
2. Decide how defensible the reading must be
A quick incoming-goods sanity check tolerates a handheld. A reading that goes onto a certificate of conformance, drives a release decision, or will be quoted back to you in a customer dispute should come off an operating stand. This single choice removes more variability than any other line item in the quote.
3. Specify the data path, not just the instrument
Ask where the number goes after it appears on the display. If the answer is a clipboard, you have added a transcription error to every result and no audit trail. Digital output into a LIMS or test record keeps the reading, the timestamp, and the operator together, which is what an auditor actually asks for.
4. Budget for calibration, not just purchase
Durometer springs drift. Plan for calibrated test blocks, a documented verification interval, and the cost of periodic external calibration. A cheap durometer with no verification programme produces numbers, not data.
5. Check how it fits the parts you actually test
Curved surfaces, thin sections, and small finished parts are where handheld Shore testing quietly fails. If most of your work is O-rings or thin seals, IRHD or micro-IRHD may be the correct method, and buying a Shore durometer will not solve the problem. Across rubber testing, the method has to match the geometry.
Common mistakes when testing rubber hardness
- Testing material thinner than 6 mm without stacking or noting it — the anvil underneath makes the rubber read harder than it is.
- Reading too close to an edge or a previous indent. Keep 12 mm from edges and 6 mm between readings; a fresh indent sits in already-deformed material.
- Taking a single reading. Shore results scatter by nature. Five readings and a median is the minimum defensible practice.
- Ignoring conditioning. A warm specimen off the press reads softer. Condition to standard laboratory conditions before comparing to a specification.
- Converting between scales. Shore A, Shore D, and IRHD are separate methods; conversion charts are approximations, not equivalences.
- Treating hardness as a proxy for strength. Two compounds at 60 Shore A can differ substantially in tensile and tear behaviour — which is why hardness belongs alongside ASTM D412 tensile testing for rubber, not instead of it.
- Blaming the instrument for operator spread. If two technicians disagree, check method control before you buy a new durometer.
Most of these are procedural, which is the honest summary of Shore testing: the instrument is rarely the limiting factor. Where hardness sits in a broader QA programme — alongside tensile, compression set, and fatigue testing of rubber compounds — tight method control matters more, because every downstream comparison depends on it.
Frequently asked questions
How hard is 70 Shore rubber?
A 70 Shore A rubber is firm but still clearly flexible, roughly comparable to a car tire tread or a shopping-cart wheel. A fingernail leaves only a shallow mark that recovers quickly. It is a common hardness for bushings, rollers, and pressure seals, and is usually too stiff for parts that must stretch or conform.
What is the Shore hardness scale for rubber?
Most rubber is measured on the Shore A scale, which runs from 0 to 100 and covers soft, flexible elastomers up to near-rigid compounds. Very soft foams, gels, and sponge rubber use the Shore 00 scale, while hard rubber and rigid plastics move to Shore D. All three are defined in ASTM D2240.
How much does a Shore hardness tester for rubber cost?
Handheld analog durometers typically start in the low hundreds of dollars, digital models with data output cost more, and a calibrated operating stand usually adds a comparable amount again. Calibration test blocks and periodic verification are recurring costs that are easy to overlook when budgeting.
Do I need a test stand, or is a handheld durometer enough?
A handheld durometer is adequate for quick shop-floor checks and incoming spot inspections. If the reading goes into a QA record, a release decision, or a customer specification, an operating stand is the better choice because it fixes the applied force and approach rate that a hand cannot hold steady.
Does a Shore D or Shore 00 durometer replace a Shore A tester?
No. Each durometer type has its own indenter geometry and spring force, so the scales are not interchangeable and cannot be converted reliably. Labs testing a wide range of compounds typically keep a Shore A instrument as the workhorse and add Shore D or Shore 00 only for materials that fall off the ends of the A scale.
Can a durometer replace tensile testing for rubber QA?
No. Hardness is a fast surface indentation check and correlates only loosely with bulk mechanical behaviour. Two compounds at the same Shore A value can differ substantially in tensile strength, elongation, and compression set, so hardness is best used alongside tensile testing rather than in place of it.
Stop losing tolerance to measurement noise.
See how LabsCubed automates rubber and plastics testing to cut operator variability and deliver audit-ready data across your QA lab.
Get a quote